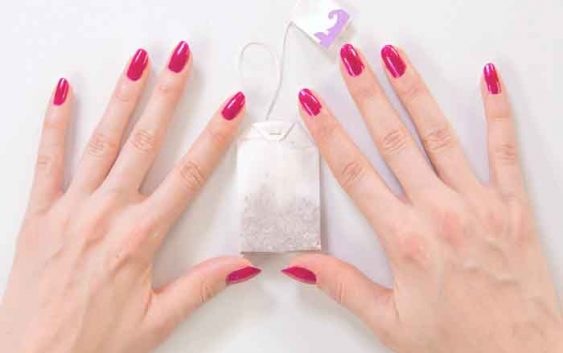
Semi-permanent varnish is a fast, resistant process and it can easily last 3 weeks. After this period, the application will be worn by time, your natural nail will have grown and a demarcation will be visible. It will then be necessary to consider removing the permanent varnish present to make way for a new color or to carry out a total removal.
In this guide, Maryton Nail Supply will tell you how to remove a permanent varnish. Are you ready? Let’s go!
There are two techniques for removing permanent varnish:
- Melting with cosmetic acetone or a remover
- Filing with a nail drill or file
How to remove permanent varnish with cosmetic acetone or a remover?
This method consists of melting the semi-permanent varnish, either with a manicure bowl or with cotton and aluminum.
To do this, you will need the following equipment:
- A polishing block also called a Buffer
- A permanent varnish remover
- A cuticle pusher
- A manicure bowl or cotton and aluminum
Technique 1: how to dissolve semi-permanent varnish with foils?
- Prepare cellulose squares (cotton) and pieces of aluminum foil
- Mattify all the color with the polishing block to remove the shiny part of the permanent varnish and facilitate removal
- Soak the cotton pads in remover or cosmetic acetone
- Place a soaked cotton pad on each nail and wrap each finger with aluminum foil to form papillotes
- Leave to act for 10 to 15 minutes. Please note that the application time depends on the thickness applied and the brand used.
- Remove each papillote and scrape off the various remaining residues with the cuticle pusher if necessary.
- Pass the buffing block over all the nails to unify the natural nail and remove the last small residues
Technique 2: how to remove semi-permanent varnish with a manicure bowl?
Unlike papillotes, this solution requires a greater use of liquid:
- Rub the color with the polishing block to make it matte and thus remove the gloss from the permanent varnish in order to facilitate melting
- Fill your manicure bowl with remover liquid and dip your fingers in the container for 10 to 15 minutes, the waiting time depending on the brand and the thickness applied
- Take your fingers out and wipe them with a cotton pad
- Gently scrape off the varnish residue with the cuticle pusher
- Repeat the step if you notice that you still have a lot of varnish on the nail
- Unify the natural nail with a polishing block
How to remove semi-permanent varnish by filing it?
This technique requires a lot of vigilance because the risk of damaging the nails is greater! By filing the natural nail too much, the keratin is removed, which can lead to thinner, brittle nails and, in some cases, excessive filing can cause serious infections.
If you still choose this technique, you can use a soft professional file or a nail drill machine with a special permanent varnish tip
We remind you that the use of the nail drill is reserved for people with training and good mastery of the device. You must have regular and light movements so as not to damage or weaken the natural nail plate and not to create irregularities. With the sander, use a low rotation speed to better control your movements and the pressure on the nail.
Finish by passing the polishing block over the nails to even out the natural nails.
Your semi-permanent removal is now complete
You can:
- Leave your nails natural
- Apply a top coat to strengthen your nail plate
- Apply a new semi-permanent application
Contrary to popular belief, permanent varnish does not damage natural nails, if the application and removal protocols are followed.
Read also: Causes and symptoms of vertically split nails
Source:


