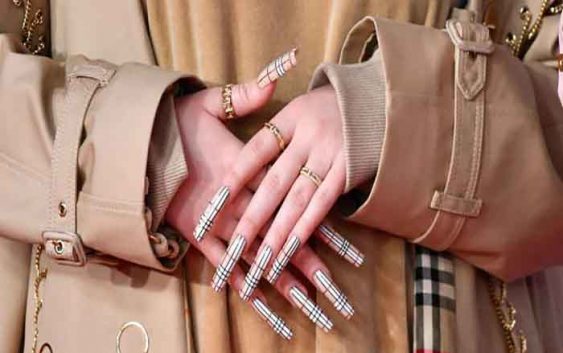
Ready to do a Russian manicure worthy of the pros, without leaving your salon? Follow this step-by-step guide to master the technique and get an impeccable result!
Before you start: prepare your equipment
For a successful Russian manicure, make sure you have the right tools. Here is the complete list:
- Electric nail file with specific tips for cuticles
- Polish or gel of your choice
- Cuticle oil for a professional finish and perfect hydration
- Degreasing wipes for a clean surface
Step 1: Prepare tools and hands
First of all, make sure your hands and tools are clean:
- Wash your hands well with a mild soap to remove impurities.
- Choose the tips of your nail drill according to the areas to be treated. The tip for cuticles must be thin and delicate.
Step 2: Preparing the Cuticles
The key to a Russian manicure is to take care of your cuticles with precision:
- Use the nail drill machine to lift the cuticles: gently run the bit over the contours of each nail to remove dead skin.
- Caution: Go slowly to avoid damaging the skin. The goal is to clean, not dig!
Step 3: Buffing and leveling the nail
For a perfect finish, the nail must be smooth and even:
- Run the nail drill over the surface of the nail to smooth it and eliminate any irregularities.
- If you want an ultra-smooth effect, use a polishing bit for a mirror finish!
Step 4: Applying the polish or gel
Now is the time to add color or shine to your nails:
- Apply your favorite polish or gel in a thin layer for an even finish.
- Pro tip: Dry each layer under a UV/LED lamp for even longer wear!
Step 5: Finishing and hydration
To enhance the result, don’t forget the finishing touches:
- Apply a cuticle oil to nourish and hydrate the skin around the nail.
- Gently massage to make the oil penetrate well and add shine to the contours of your nails.
Bonus tips Russian manicure
A few additional tips for a successful Russian manicure:
- Avoid overheating with the sander: too intense a pass can damage the natural nail.
- Long-lasting shine: apply a top coat for extra shine and better protection.
- Patience and precision: the Russian manicure requires a little practice. Use a professional manicure kit and the results will come!
With this guide, you have all the keys to achieve a perfect Russian manicure at home. The more you practice, the more comfortable you will feel, and your nails will be at their best every time!
Read also: Causes and symptoms of vertically split nails
Source:


